How to Create a Restore Point Manually in Windows 10 and 11
System Restore Points are very important for restoring your Windows PC to good working condition. If your system crashes for some reason, you can easily restore it to a working state using the System Restore utility. Windows 11 or 10 automatically creates restore points if System Protection is on. However, you can also create a restore point manually.
So, the first thing you should check for is the System Protection status. If it is OFF for your Windows 11 or 10’s system drive, you should turn it on first. After that system will automatically create restore points whenever major changes are made to the system. Besides, automatic restore points, you will also have the option to create restore points manually.
SEE ALSO: How to use System Restore in Windows 10 or 11?
Manually Create a System Restore Point in Windows 10 or 11
So, in this tutorial, we will show you how to create a Restore point in Windows 11 and 10. You can also use this tutorial for Windows 7, 8/8.1 as well. Let’s get going with the steps.
Step 1: Open System Protection Settings
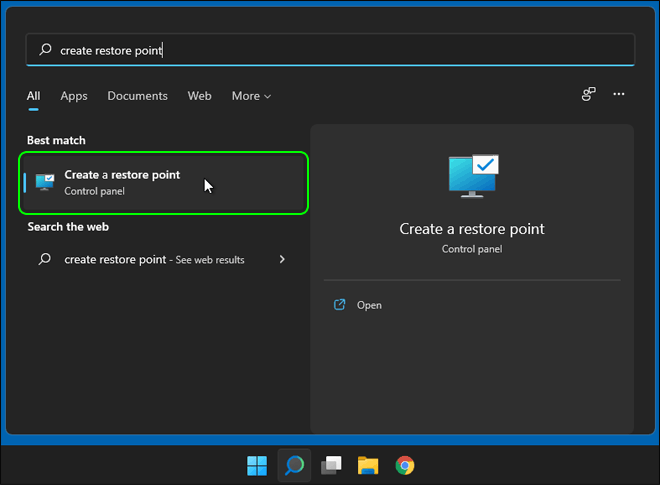
First of all, search for “create restore point” on Start in Windows 11 or 10. After that click Create a Restore Point from search results.
Step 2: Click Create to Start Creating Restore Point
Now, you will have the System Properties window open on the System Protection tab. Here, you can see the current status of System Protection. You can also start System Restore from here. So, if System Protection is turned on, you can start creating a restore point manually.
Click on the Create… button below Protection Settings to start the restore point wizard.

NOTE: Make sure to turn on System Protection for the system drive of your Windows 11 or 10. This will prevent future troubles for you.
Step 3: Type a Name and click Create
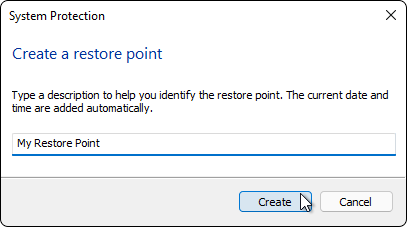
We are almost there. Now, type a name for this restore point. You can type any name of your choice to recognize it later. The date and time will be added to it automatically. After that, click Create to continue.
Windows 10 or 11 will start creating a Restore point. It may take some time depending upon the size of the drive and configuration of your system. Once the restore point creation is complete, you will see a success message.
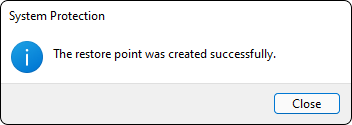
Your Restore point has been created successfully. Now, you can close the message and also close the System Properties window.
Create a Restore Point Manually to Restore your PC when Needed
Now you can restore your system using this Restore point. You should create Restore points for your Windows 10 or 11 regularly. We highly recommend you create a restore point before making any major changes to your PC. So, if your PC runs into problems, you can restore it using a recently created restore point.
You can also enable automatic creation of restore points using Group Policy. If you get stuck somewhere, feel free to comment down below. Hope you liked this tutorial. We suggest you subscribe to our newsletter to get the latest tutorials directly into your inbox.


It worked for me thanks.